
How To Clear Your Queue On Spotify: Make Your Music Library
Learn how to clear your Queue on Spotify in three easy steps. Delete, create, and shuffle your way to a better music experience. Read more and get started today.
We all love music. It’s the soundtrack of our lives, the mood booster, the stress reliever. But sometimes, we get overwhelmed by the number of songs saved on Spotify. We want to listen to them all but need more time and attention. We end up in a cluttered queue that makes us anxious and frustrated. What if there was a way to clear your Queue on Spotify without losing your precious tunes? A way to organize your music library and discover new gems along the way? A way to enjoy your favorite songs without feeling guilty or bored? Well, there is. And it’s easier than you think, “Clear Your Queue on Spotify.” But, How To Clear Your Queue on Spotify?
This article will show you how to clear your Queue on Spotify in three simple steps. You will learn how to delete songs from your Queue, create playlists from your Queue, and shuffle your Queue for a fresh listening experience. By the end of this article, you will have a clean and satisfying queue that reflects your musical taste and mood.
How To Clear Your Queue on Spotify On Android & iPhone
If you use Spotify on your mobile device, you know how easy it is to add songs to your Queue. You tap the three dots next to any song and select “Add to queue.” But what if you want to remove songs from your Queue? How to clear your Queue on Spotify on Android and iPhone? The answer is simple: you swipe. Here’s how:
- Open the Spotify app on your phone and tap on the “Now playing” bar at the bottom of the screen.
- You will see the current song and the following songs in your Queue. To remove a song from your Queue, swipe it to the left or right. You will see a red “X” icon indicating that the song has been deleted from your Queue.
- To clear your entire Queue, tap on the three dots in the top right corner and select “Clear queue.” You will see a pop-up message asking you to confirm your action. Tap on “Clear queue” again to proceed.
- Voila! You have successfully cleared your Queue on Spotify on Android and iPhone.
That was easy, right? But what if you don’t want to delete your songs permanently? What if you save them for later or create playlists from them? Don’t worry. We have you covered. The following section will show you how to create playlists from your Queue on Spotify.
How To Create Playlists From Your Queue on Spotify
Sometimes, you want to avoid clearing your Queue on Spotify. You want to keep your songs and listen to them again. You may like to share them with your friends or followers. In that case, you can create playlists from your Queue on Spotify. Here’s how:
- Open the Spotify app on your phone and tap on the “Now playing” bar at the bottom of the screen.
- You will see the current song and the following songs in your Queue. To create a playlist from your Queue, tap on the three dots in the top right corner and select “Add to playlist.”
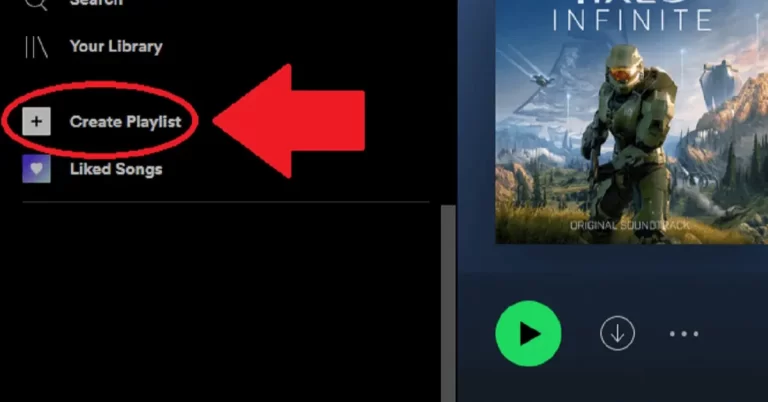
- You will see a list of your existing playlists and an option to create a new playlist. To create a new playlist, tap “New playlist” and enter a name for your playlist. Then tap on “Create.”
- To add your Queue to an existing playlist, tap on the name of the playlist you want to add to. A green checkmark indicates that your Queue has been added to the playlist.
- That’s it! You have successfully created a playlist from your Queue on Spotify.
You can access your playlists from the “Your Library” tab in the Spotify app. You can also edit, delete, or share your playlists from there. The following section will show you how to shuffle your Queue on Spotify for a fresh listening experience.
How To Clear Your Queue on Spotify On Windows & Mac
If you use Spotify on your computer, you might have a different way of adding songs to your Queue. You might drag and drop songs from your library or playlists to the queue icon in the bottom right corner. Or you might right-click on any song and select “Add to queue.” But how to clear your Queue on Spotify on Windows and Mac? The answer is simple: you click. Here’s how:
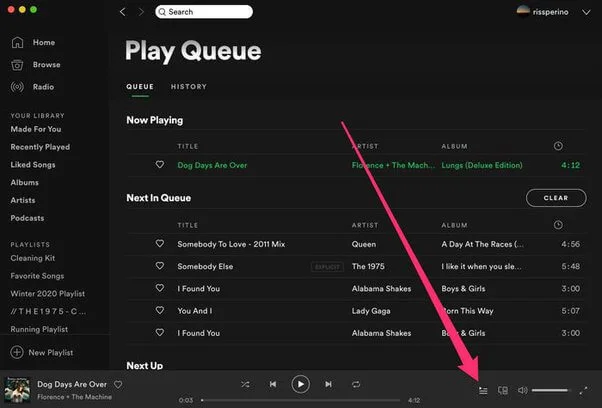
- Open the Spotify app on your computer and click on the queue icon in the bottom right corner. You will see the current song and the following songs in your Queue.
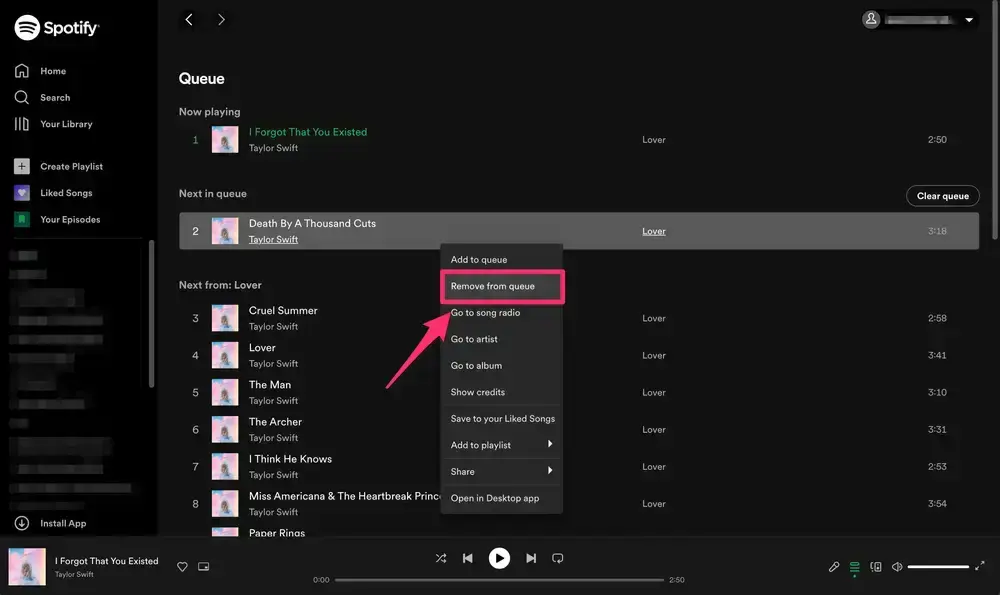
- To remove a song from your Queue, hover over it and click on the “X” icon that appears. You will see a red line indicating that your Queue has deleted the song.
- To clear your entire Queue, click the “Clear” button in the top right corner. You will see a pop-up message asking you to confirm your action. Click on “Clear” again to proceed.
- Voila! You have successfully cleared your Queue on Spotify on Windows and Mac.
How To Shuffle Your Queue on Spotify
Sometimes, you want to avoid clearing your Queue on Spotify. You want to keep your songs and listen to them in a different order. You may want to spice up your music experience and discover new combinations of songs. In that case, you can shuffle your Queue on Spotify. Here’s how:
- Open the Spotify app on your device and tap or click on the “Now playing” bar at the bottom of the screen.
- You will see the current song and the following songs in your Queue. To shuffle your Queue, tap or click the “Shuffle” icon in the bottom left corner. You will see a green circle indicating that your Queue has been shuffled.
- To turn off the shuffle, tap or click the “Shuffle” icon again. A white circle indicates that your Queue has been restored to its original order.
- That’s it! You have successfully shuffled your Queue on Spotify.
You can also repeat your Queue by tapping or clicking on the “Repeat” icon next to the “Shuffle” icon. You can choose to repeat the current song, the entire Queue, or turn off repeat. Shuffling and repeating your Queue can make your music experience more fun and diverse. We hope you enjoyed this article and learned how to clear your Queue on Spotify. Now you can easily manage your music library and listen to your favorite songs.
Frequently Asked Questions
Final Conclusion
A cluttered queue on Spotify can ruin your music experience. It can make you feel overwhelmed, frustrated, and bored. That’s why it’s essential to clear your Queue on Spotify regularly. But, How To Clear Your Queue on Spotify? This article showed you how to do that on different devices. It also showed you how to create playlists from your Queue and how to shuffle your Queue. These tips will help you keep your music library organized and enjoy your songs more.